I hope you enjoy reading this blog post.
If you want to get more traffic, Contact Us

Click Here - Free 30-Minute Strategy Session
Be quick! FREE spots are almost gone for this Month. Free Quote
There are many reasons why you might require a website. Maybe you’re starting a blog, or maybe you need a professional page to drive traffic to your business. No matter the reason, it’s possible to create a high quality website on your own. Your initial thoughts may have been to hire a professional, but with some basic technology knowledge and the 3 simple steps in this guide, you should be able to put together a good quality page.
The entirety of this guide should take you no more than 20 or 30 minutes to finish. That amount is negligible when you consider the amazing benefits of putting yourself out there. This guide is perfect for people who want to start a blog, personal website, or business page. Online stores are a little more complicated and outside the scope of this guide, but you can find information on that elsewhere on our site.

Click Here – Free 30-Minute Strategy Session
Be quick! FREE spots are almost gone for this Month
So let’s begin! The first step to make your own website is choosing your website platform. Website creation in the past used to take a decent amount of coding knowledge. Many professional sites today are still built using a combination of HTML, CSS, and Flash, but they are no longer necessary to put together a quality website.
In 2017, content management platforms such as WordPress have removed the necessity for technical know-how and broken the process down into an easy to digest system of menus and text boxes.
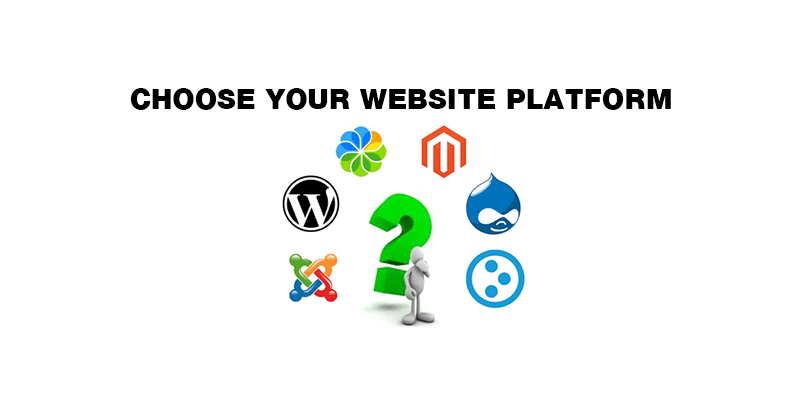
The most popular website platform by far is WordPress, accounting for over 50% of the market. Other viable alternatives are Drupal at 17% and Joomla at 6%. It’s important to state that there’s a reason that WordPress is so popular and the suite of easy-to-learn features and great functionality are the reason we recommend it over the alternatives.
If you weren’t thinking of hiring a professional, you were probably looking into sites that offer automatic website building with a simple graphical format. Why not go with a website builder instead of WordPress? They certainly seem simpler up front, but there are a few important considerations to take into account that make WordPress the superior choice.
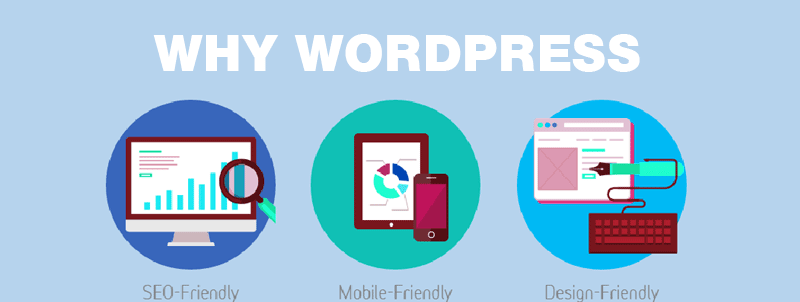
1. WordPress is free –There are tons of themes and layouts you can use to customize the site to your liking, and the majority of features won’t cost you a penny.
2. Its very beginner friendly – WordPress is a very deep and capable platform, but if you’re able to handle Microsoft Word you have enough technical know-how to put a site together. There are a whole suite of options to explore to further modify your site, but those aren’t necessary to get a functional site up and running.
3. Its a good fit for almost any website – From a personal blog to a site for a corporation, WordPress functionality can provide a beautiful site to suit almost every need.
4. Your site will respond to different platforms – Many of us access the internet through our phones – some of us, a majority of the time. Creating a website that’s optimized for mobile phones and tablets is an important part of making sure your site is accessible to your entire audience. You don’t want to lose potential viewers or customers because your site wasn’t easily viewable, and WordPress automatically adjusts your site to a mobile friendly version.
5. A huge and supportive community – As mentioned above, getting a site launched using WordPress is a simple process. To further reassure you, even if you get lost and this guide isn’t enough, there’s a huge community of WordPress enthusiasts ready to offer you assistance. Choosing website platform like WordPress is a safe bet. In case you run into any issues while building your site, just describe your problem in the WordPress forum and in hours you will get heaps of messages from experts on how to solve your issue. Website builders don’t offer the same support or customization you get from doing it yourself and DIY has never been easier.
6. WordPress is Open Source – This means that you have full access to backend coding of WordPress which is not available with website builder systems like WIX. So if you want to integrate your website with some special apps or systems, its possible with WordPress as you have access to source codes (however, you may need a professional programmer’s help to get the coding done). But no such options are available with website builders or even if there are options, they are not free and often are quite expensive.
Drupal and Joomla offer almost the same functionality as WordPress – and in some cases a little more. But they feature a steep learning curve and a decent amount of required coding knowledge. Drupal and Joomla are still best suited for experienced designers who know how to push a website platform to its limits, and not such a good option for beginners.
We’ve established above that WordPress has a huge host of features to help you create the perfect website, and we strongly recommend you use this tool for building your page.
Below we’ll get into the next steps in our journey to teach you how to create a website.
In Step 2, we’ll talk about how to choose your domain name and find a website host.
In Step 3, we’ll focus on the process of installing WordPress and customizing your website.
You have to get through Step 2 before you start Step 3. We know you’re excited, but don’t download WordPress just yet!
Step 2: Picking a Domain Name and Host
Before you start building your website, you’ll first need to obtain the following:
Building a website using WordPress is free, but actually hosting the site will cost you a few dollars a month. For basic needs, you can get a site hosted for $3-5 a month. Don’t let a small monthly fee discourage you from building a quality site for yourself or your business. Skip coffee one day on the way to work and you’ve paid for your month of hosting!
You may be able to reduce the cost of hosting by opting for a site in the format of yoursitename.hostingservice.com, but that looks far less professional than a regular “.com” site. If you’re really broke it might be an option, but if you can’t spare $5 a month, building a website probably isn’t your first priority!
Also, choosing a good hosting service ensures that your site has a good uptime and loads quickly for users. With the advent of high-speed internet, pages that take more than a second to load will often cause users to look elsewhere. Make sure your content is seen by as many people as possible by choosing a reliable host.
To make things easy, we recommend www.bluehost.com for your domain name and hosting needs. They provide reliable service at a great price, and getting setup is pretty simple too! For Australian businesses, our suggestion is to go with www.crazydomains.com
You can also opt to host your website yourself, but that’s a pretty technical and complicated process that is beyond the scope of this guide. Save yourself the trouble and opt for hosting with a service like BlueHost or Crazy Domains.
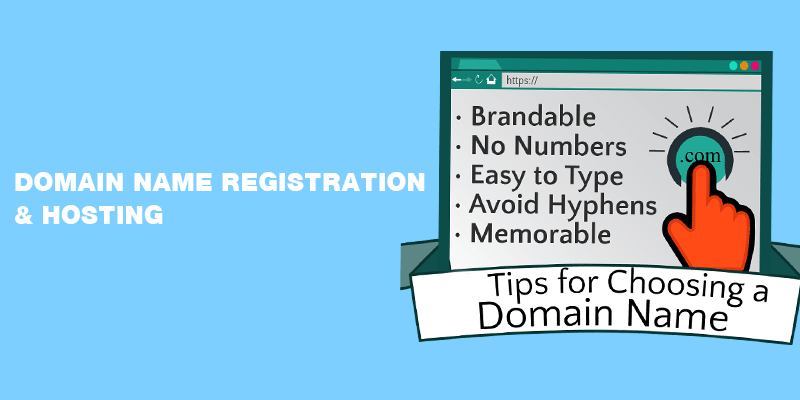
Choose a domain name that describes the content of your site and is easy to remember. Your site name is part of your brand, and a complicated or forgettable site name can easily sink your blog or business.
Also, avoid weird extensions. Go with .com, .net, or .org for a respectable and professional site. People default to .com when trying to remember a site, so going with a weird ending is a recipe for disaster.
To summarize, choose a domain name that’s
Most of all choose a domain name that you actually like. Your name could be perfectly optimized, but if you hate it, it’s no good.
When you’ve secured a domain name and host, it’s time to move on to step 3 – building your site. You can finally download WordPress!
There are two ways to install WordPress, and one way is a whole lot easier than the other.
1. Use One Click Installation – If you’ve signed up with BlueHost or Crazy Domains, you should be able to take the following steps for installation of WordPress
2. Manually Install WordPress – If your hosting service doesn’t offer one click installation, you can install it manually instead. This process is rather long and technical, so before you decide on a host, try to make sure they offer the one click installation. There are guides available online that detail this process, but it’s definitely best avoided as a WordPress beginner.
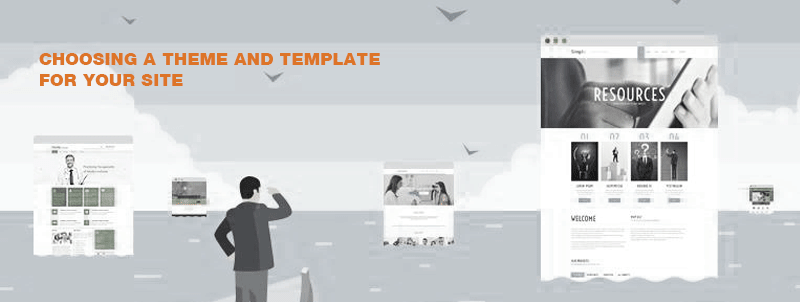
To make your site stand out from the rest, it’s important to choose the proper theme and template. These two features tell WordPress how to build and display your site to the rest of the web, so it’s important you choose a theme that is aesthetically pleasing and easy to navigate.
Very important – Chose a mobile responsive theme so its compatible with all devices.
To find a good theme, take the following steps
1. Log into your WordPress dashboard by visiting http://yoursite.com/wp-admin.
2. Go the appearance tab on the side, and click “Themes”.
It’s as simple as that! You now have access to over 1500 themes that you can use to customize your website. Try a few and choose one that you love.
If you need a professionally designed theme, try visiting ThemeForest.net or TemplateMonstor.com for professional themes of varying cost.
Once you’ve located the theme you like, simply click “Install” followed by “Activate”.
Now that you’ve got your theme, it’s time to add content. This is probably the most important step of learning how to build your own website, as a website without content is useless.
1. Go to Pages > Add New in the dashboard
2. Add text and images in the box to build the content of your page.
1. Save changes to your current page by clicking “Update”
2. Click Appearances > Menu in the sidebar
3. Find the page you created, click the checkbox, and then “Add to Menu”
If you’re running a blog, this is what you’ll want to focus on next. Do either of the following to get your blog up and running and add your first posts!
A. Create a new category by clicking Posts > Categories
B. Create your new post by clicking Posts > Add New. After you finish your post, there will be an option to add it to an existing category.
After creating a post and adding it to a category using one of the two methods above, you’re in business!
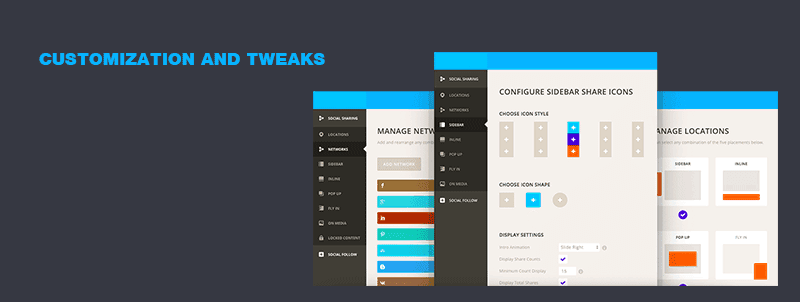
After you’ve got the basics down, there’s tons more things you can do.
Your title explains to searchers what your website is about, and taglines are a phrase added to the end of each page.
Options to change your Title and Tagline are located in Settings > General
To disable comments on your pages, for whatever reason, take the following steps.
1. While writing a new page, click “Screen Options”.
2. Untick the “Allow Comments” section in the “Discussion” box
To disable comments by default instead of page-by-page, go to Settings > Untick “Allow people to post comments on new articles”
If you want your homepage to always look the same, Go to Settings > Reading and set the page you want as the “Front Page”.
If you want different categories to appear in the sidebar of your site, go to Appearance > Widgets on the WordPress dashboard and drag and drop to make different boxes on your sidebar and remove the ones you aren’t interested in.
Now that you’ve mastered the basics of WordPress site creation, you can add additional features via plugins to expand the functionality of your site.
There are a huge amount of plugins available, but the process to install them is largely the same. Just go to Plugins > Add New and start checking out what plugins have to offer!
Listed below are some great plugins to start with as a baseline, and the features they add are invaluable.
1. Contact Form 7 – Simply put, this plugin adds a contact form to your WordPress site. It’s perfect for an About Me page or any situation where you want to give you consumers an easy way to reach out.
2. Yoast SEO for WordPress – This plugin adds a whole suite of functionality to help make sure you’re maximizing your

LEAVE A REPLY