


I hope you enjoy reading this blog post.
If you want to get more traffic, Contact Us


Click Here - Free 30-Minute Strategy Session
Be quick! FREE spots are almost gone for this Month. Free Quote

Page speed optimisation is widely recognised as a crucial aspect of website performance. Its significance is evident not only in its impact on user experience but also in its direct influence on Google rankings for both desktop and mobile devices. Unfortunately, sluggish loading times continue to plague numerous WordPress websites.
Let’s look at the mobile score of one of my web pages using PageSpeed Insights.

Click Here – Free 30-Minute Strategy Session
Be quick! FREE spots are almost gone for this Month
Unless your WordPress website is freshly created, you have probably accumulated a multitude of plugins throughout the years, many of which might no longer serve any purpose. It’s crucial to note that certain plugins can have an adverse impact on your page speed optimisation. Therefore, it is advisable to begin the page speed optimisation WordPress process by deactivating and uninstalling unnecessary plugins.
However, exercise caution while performing this task. If you’re unsure about the necessity of a particular plugin, it’s best to err on the side of caution and retain it for the time being.
Learn More: Improving Page Speed: A Guide to Core Web Vitals

Websites consist of files stored on servers connected to the internet. Each device connected to the internet is assigned an IP address (e.g., 123.123.12.1) for identification purposes.
To make it easier for users to access websites, domain names are used instead of IP addresses. The Domain Name System (DNS) acts as a web “phonebook,” mapping domain names to their respective IP addresses. When you enter a domain name in your browser, a DNS lookup takes place to retrieve the IP address of the server.
However, many people rely on the free DNS providers offered by their domain registrars, which often results in slower performance.
If you find yourself in this situation, consider switching to a faster DNS provider like Cloudflare.
To get started, create a free Cloudflare account. Afterwards, click on “Add a site,” enter your domain name, and proceed by clicking the appropriate button.
Next, select the free plan and click “Confirm plan.”
Cloudflare will present you with an opportunity to review your DNS settings before proceeding. If there are no warnings or concerns, you can generally proceed safely.
The final step is to replace your domain registrar’s nameservers with the ones provided by Cloudflare. The process for doing this may vary depending on your registrar, so don’t hesitate to reach out to their support team if you’re unsure about how to proceed.
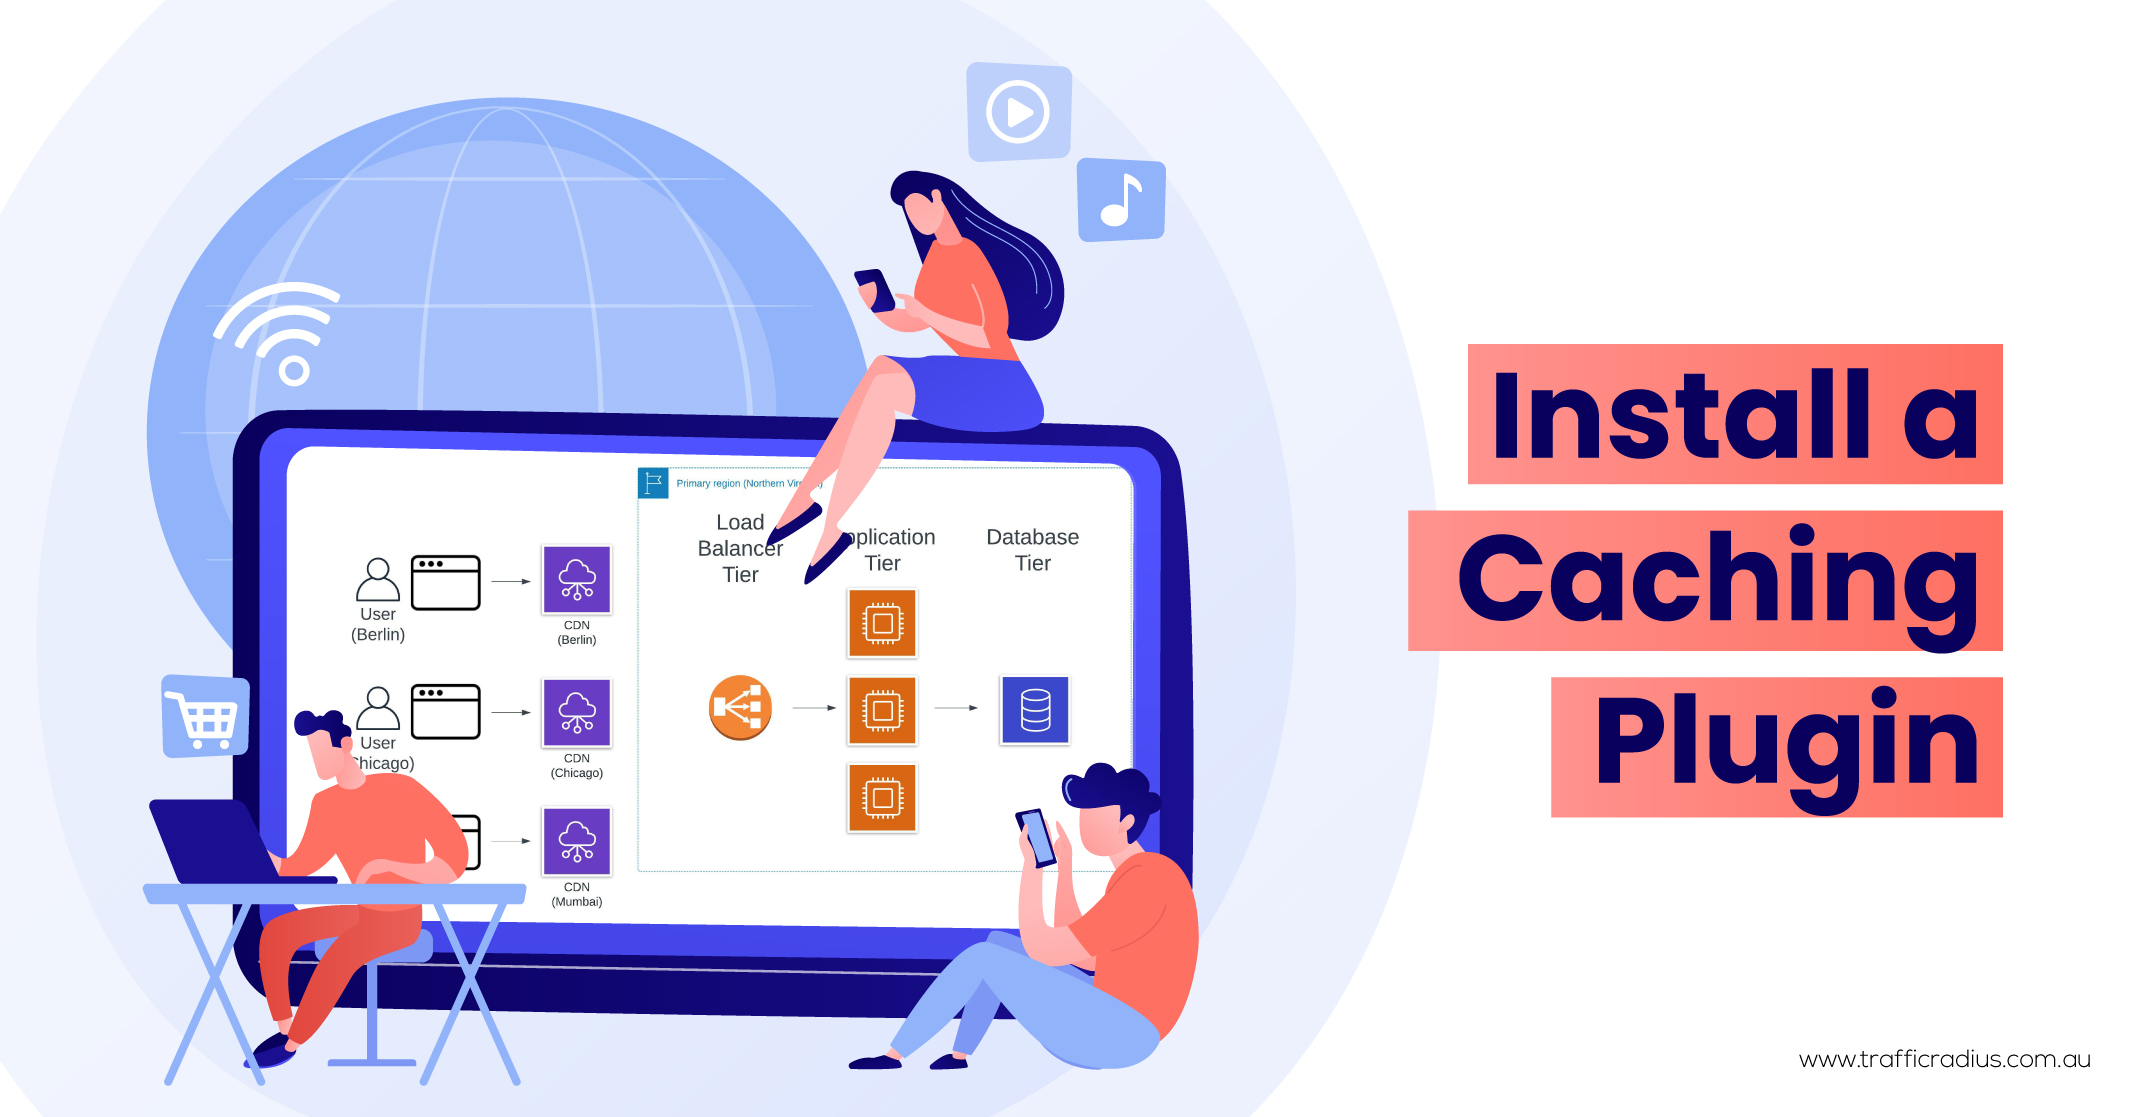
Caching is a valuable process that temporarily stores files, allowing for more efficient delivery to website visitors.
There are two primary types of caching:
To simplify the process of enabling caching, WP Rocket offers a user-friendly solution. By purchasing, installing, and activating WP Rocket, caching becomes straightforward.
Basic caching, which includes both server and browser caching, is enabled by default. For responsive websites, you can navigate to the cache settings and select the option to enable caching for mobile devices as well.
Minification is an optimisation technique that eliminates unnecessary whitespace and comments from code, resulting in reduced file sizes. By reducing file sizes, website loading times can be significantly improved.
If you’re utilising WPRocket, you can easily enable minification for CSS and JavaScript by selecting the corresponding checkboxes in the settings.
In case you’re not using WPRocket, an alternative solution is to install and activate the Autoptimise plugin, which offers similar minification functionality. Once installed, you can configure the plugin to minify CSS and JavaScript files.
However, it’s essential to exercise caution when implementing minification, as it can potentially lead to issues with broken code, particularly when dealing with JavaScript. Therefore, it is always recommended to thoroughly test the effects of minification on your website before deploying any changes live.
Learn More: How to Improve Your Google PageSpeed Insights Score?
Most WordPress websites contain multiple CSS and JavaScript files, including those for themes, plugins, and custom elements.
Combining these files can potentially improve website speed, although the impact depends on your server configuration.
Under HTTP/1.1, CSS and JavaScript files load sequentially, meaning each file must fully load before the next one can begin loading. However, with HTTP/2, files load concurrently, allowing multiple CSS and JavaScript files to start loading simultaneously.
To determine which version your site uses, you can utilise Key CDN’s tester tool.
If your server supports HTTP/2, combining files may not provide significant benefits since files can already load simultaneously. However, if HTTP/2 is not supported, combining files can help speed up loading times by reducing the number of files that need to be loaded.
To combine files using WPRocket, navigate to the settings and enable the “Combine JavaScript files” and “Combine CSS files” checkboxes.
If you’re using Autoptimise, you’ll find checkboxes to “aggregate” files. It’s important to note that enabling file aggregation may occasionally cause issues on your site.
Therefore, it’s advisable to thoroughly check that everything appears and functions correctly after enabling this feature. Don’t forget to clear the cache beforehand and verify any changes in an incognito window to ensure they are accurately reflected.
Rendering refers to the process of converting code into a visible web page that users can see and interact with.
When it comes to rendering, the crucial aspect is the visibility of the web page, as it doesn’t always have to fully load before becoming visible to users.
To optimise this process, it is beneficial to prioritise the loading of resources for the “above the fold” content, which is the content immediately visible to users without scrolling.
One approach to achieving this is by deferring the loading of non-critical CSS and JavaScript files required for the “below the fold” content until a later stage. In WPRocket, this can be accomplished by enabling the options to “Load JavaScript deferred” and “Optimise CSS delivery.”
If you are not using WPRocket, you can achieve similar results with two plugins: Autoptimise and Async JavaScript. In Autoptimise settings, select the option to “Inline and Defer CSS.” Additionally, in the settings of Async JavaScript, enable the “Async JavaScript” functionality.
Implementing these techniques will often address the “eliminate render-blocking resources” issue identified in PageSpeed Insights, leading to improved performance.
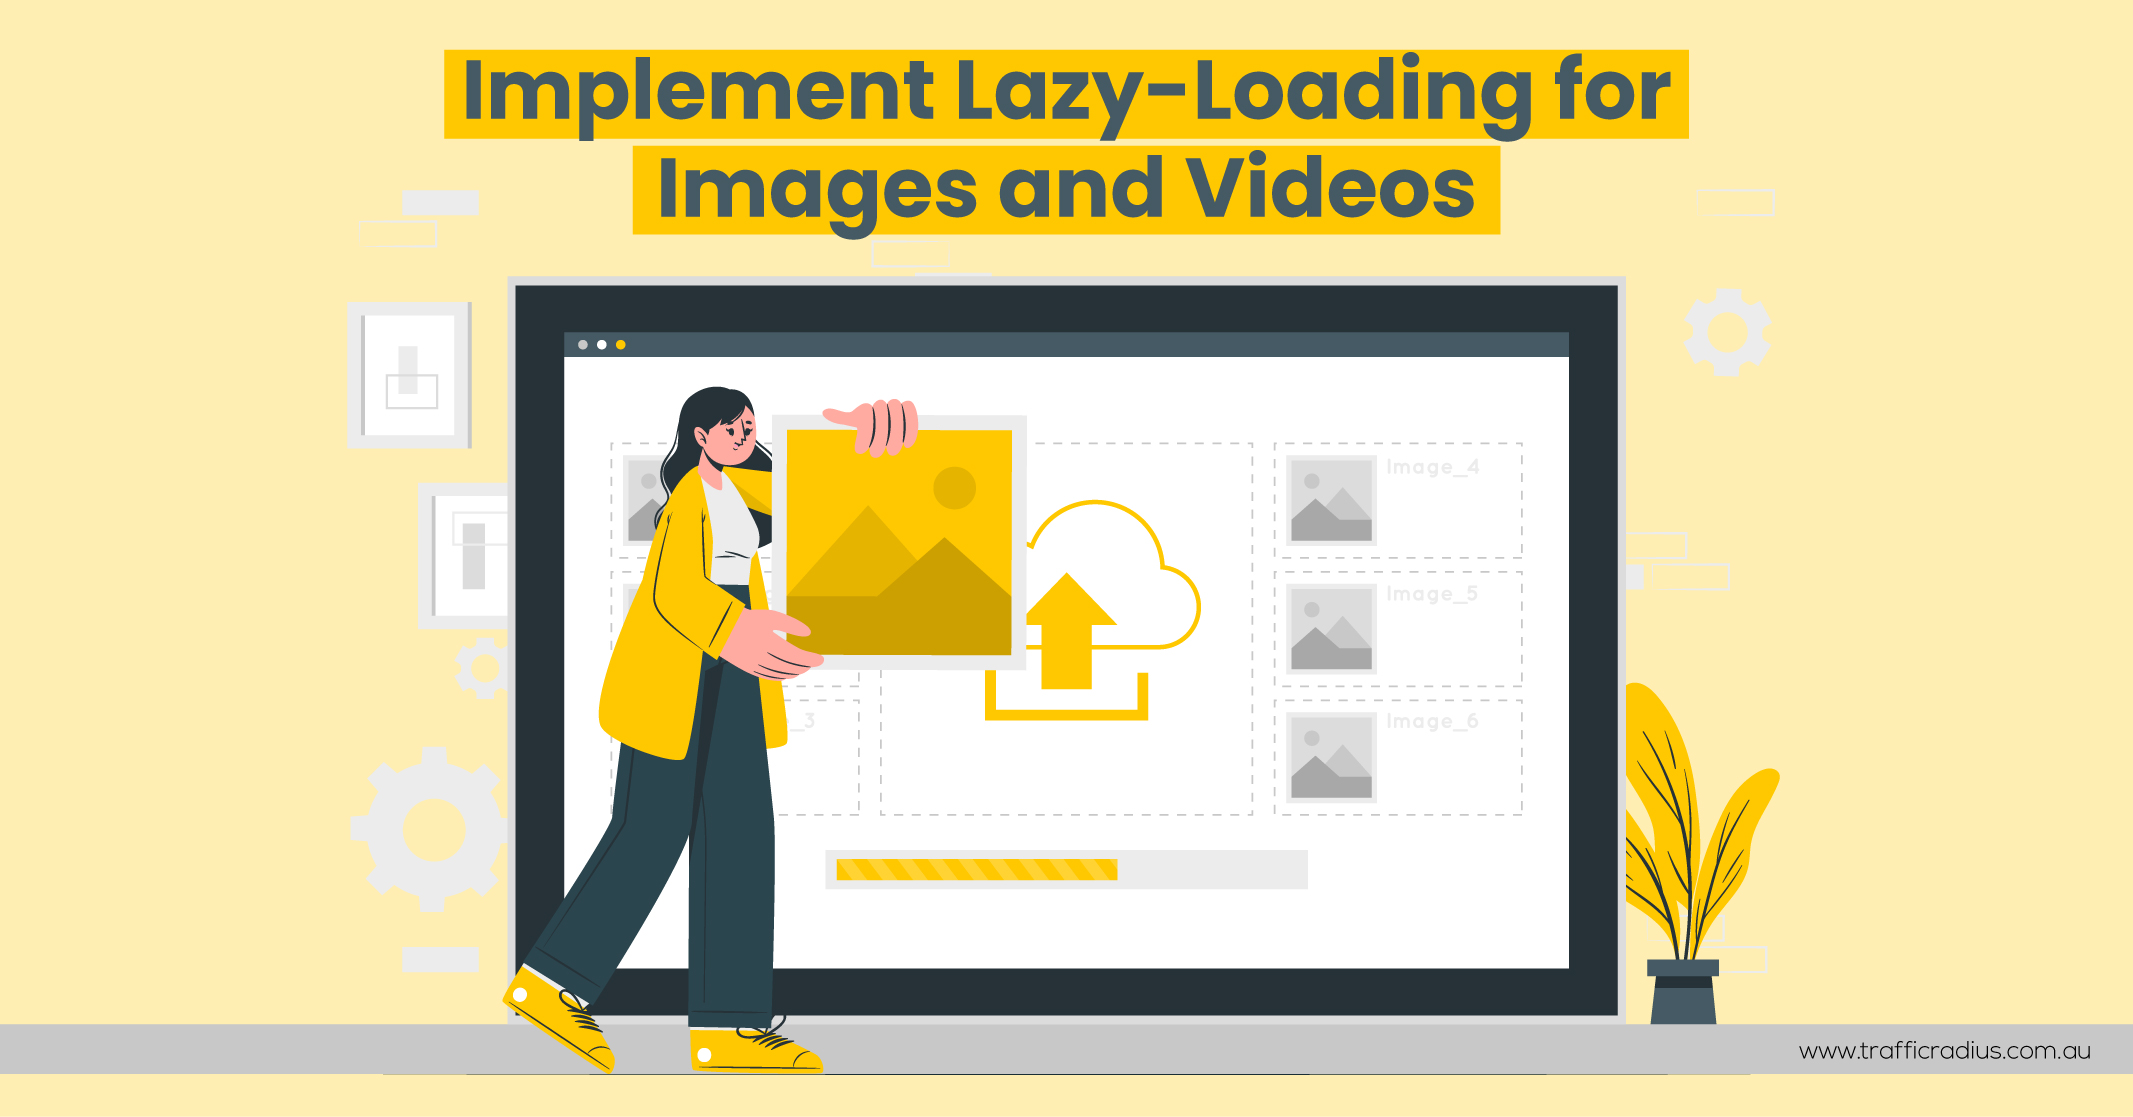
Lazy-loading is an effective technique that enhances page speed optimisation in WordPress by delaying the loading of images and videos until they become visible on the screen. In WordPress 5.5 and above, image lazy-loading is automatically enabled by default, excluding videos.
For WPRocket users, you can address this by enabling the “Enable for iframes and videos” option in the LazyLoad settings.
If you’re not utilising WPRocket, you can achieve similar functionality by installing the free “Lazy Load for Videos” plugin, which offers comparable features.
By implementing lazy loading for videos, you can significantly improve the loading speed of your web pages.
Numerous themes rely on Google Fonts, necessitating the downloading of fonts from Google’s server whenever a visitor accesses your website. This process can be time-consuming as your server needs to make HTTP requests, download a CSS file, and subsequently retrieve the font from the specified location in the stylesheet. These steps must be repeated for each font utilised on the page.
If you are using WPRocket, it conveniently optimises the requests for Google Fonts by default. However, if you do not have WPRocket, a recommended solution to begin with is Swap Google Fonts Display.
By addressing the optimisation of Google Fonts, you can enhance the loading speed and overall performance of your website.
Preloading is a technique that allows you to specify the priority of loading essential resources to browsers, ensuring optimal file loading order.
Let’s consider an example code snippet:
<html>
<head>
<script type=”text/javascript” src=”somefile.js”></script>
<link rel=”stylesheet” href=”/style.css”>
</head>
<body>
Content
</body>
</html>
In this code, the JavaScript file would typically load first due to the hierarchy. However, it may not be ideal because the CSS file is often more critical than the JavaScript code.
To address this issue, a simple solution involves adding a line of code, like this:
<link rel=”preload” href=”/style.css” as=”style”>
By including this line, browsers are instructed to prioritise the CSS file over the JavaScript file, regardless of their hierarchy.
While it’s possible to manually add preload attributes by editing the code, it can become complex and confusing if you’re not familiar with the process.
Alternatively, installing WPRocket simplifies this task as it automatically implements preloading functionality without manual intervention.
Using preloading effectively can optimise your website’s performance by ensuring the prioritised loading of essential resources.
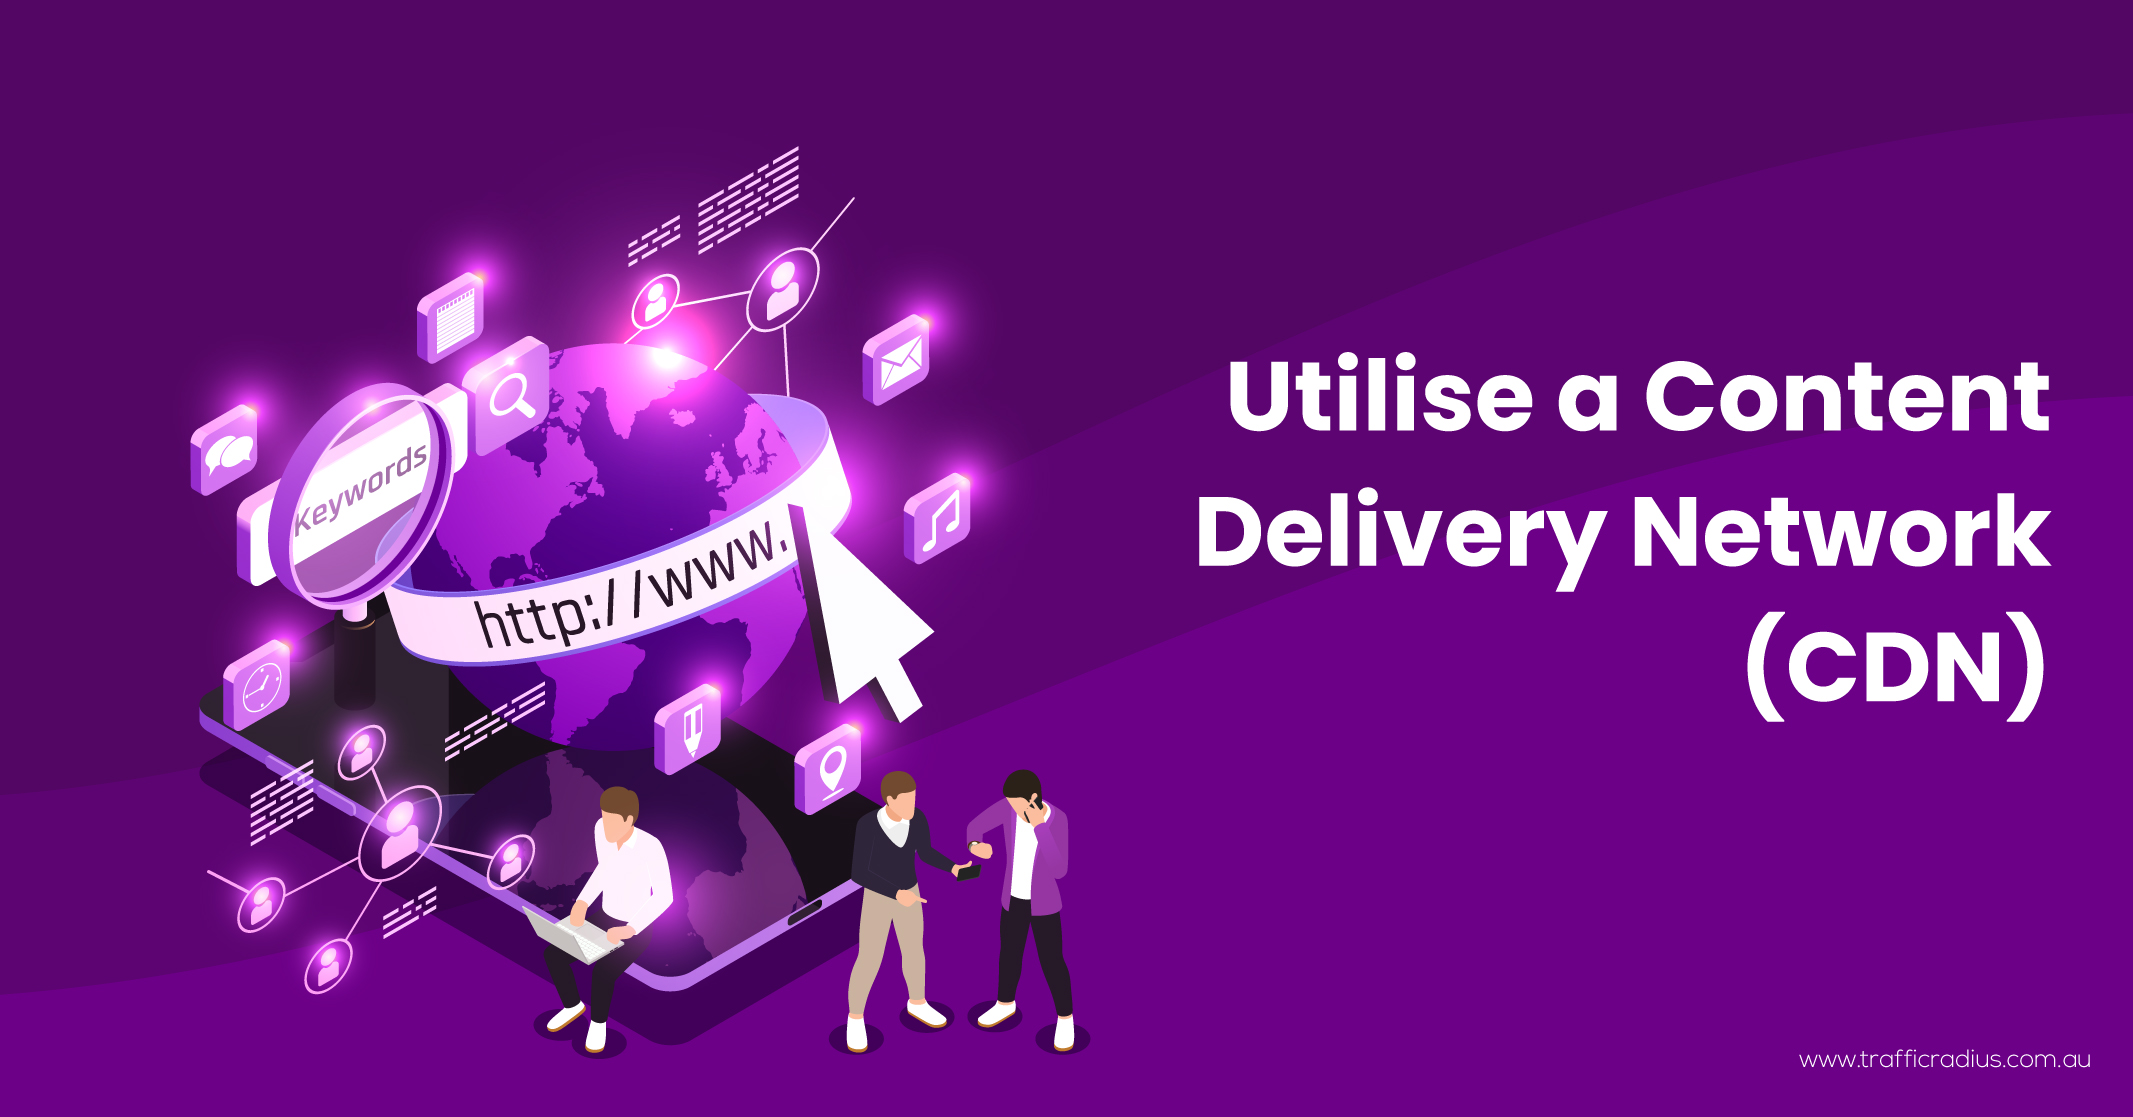
Content Delivery Networks (CDNs) consist of geographically distributed servers worldwide. These servers store copies of your website, enabling faster connectivity for users when they request web pages.
For instance, suppose your web host’s server is located in the UK. If someone from the US visits your site without using a CDN, the connection between their device and your server may be slow. However, by employing a CDN, their device will connect to the nearest server, significantly improving the speed of connectivity.
There are numerous CDN providers available, allowing you to select one that suits your needs. To integrate a CDN into your website, simply choose a provider, enable it in WPRocket, and enter the CNAME (Canonical Name) provided by the CDN.
By utilising a CDN, you can enhance the global performance and accessibility of your website for users across various geographical locations.
While lazy-loading effectively addresses various image-loading issues, it does not specifically assist with images that appear above the fold. The larger these images are, the more they can negatively impact overall loading times.
To mitigate this problem, it is recommended to compress your images using a plugin like ShortPixel. Simply install and activate the plugin, access the settings, enter your API key, and save the changes. Then, navigate to the Bulk Process section and click on “Restart Optimising” to initiate the image compression process.
In case you find that the compressed images have lower quality, you can adjust the settings by accessing the plugin’s settings again. Look for the compression type option and switch it to “glossy” or “lossless” to optimise the image quality according to your preference.
By compressing your images with the appropriate settings, you can significantly improve loading times without compromising image quality.

Let’s examine the impact of these page speed optimisations as measured by popular tools.
Here are the performance results before and after implementing page speed optimisation tips using Google’s PageSpeed Insights:
Before Page Speed Optimisation:
After Page Speed Optimisation:
Additionally, let’s consider the results from GTMetrix:
Before Optimisation:
After Optimisation:
These metrics demonstrate the positive impact of page speed optimisation. The page size has significantly decreased, resulting in faster loading times. The number of requests has also been significantly reduced, leading to improved efficiency.
While the optimisations mentioned earlier have proven effective for many websites, it’s crucial to recognise that every WordPress configuration is unique. Factors such as the number of plugins, the complexity of the theme, the quality of hosting, and the presence of third-party tracking scripts can all contribute to slower website speeds.
If you have implemented the recommended page speed optimisations and still feel that further improvements are needed, it might be necessary to consider custom work for your site. In such cases, it is advisable to hire a developer or a page speed expert who can closely examine your specific setup and provide tailored solutions.
For a more comprehensive understanding of specific issues related to page speed optimisation, you can explore our complete page speed guide, which offers detailed insights and tips.
Remember, continuous optimisation is key to maintaining a fast and efficient website.
Learn More: An Authoritative Guide to Optimising SEO for WordPress
Be quick! FREE spots are almost gone for this Month


LEAVE A REPLY